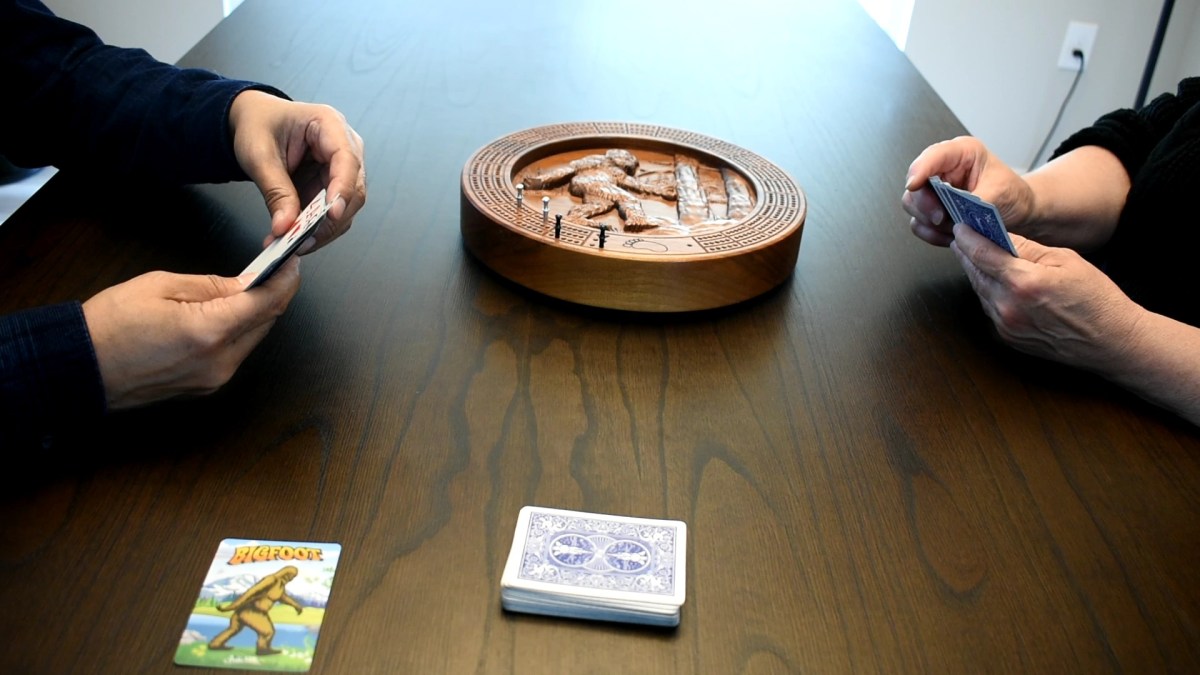
Just for fun today (which is New Year’s Day of 2025) after Sena and I played a few games of cribbage, I searched the internet using the term “cribbage in Iowa.” I found a local newspaper story entitled “There’s No Crying in Cribbage. There’s No Politics Either,” published August 18, 2024 in the digital version of the Cedar Rapids Gazette which, by the way, promised me that I have “unlimited” access to articles.
It was written by Althea Cole and it was longer than I expected it to be. Much of the story was about the longstanding history of annual cribbage tournaments at the Iowa State Fair. She also mentioned that her grandfather had been an avid cribbage player.
But I was also puzzled by the significant number of obituaries that popped up in the web links. I’ve looked up cribbage dozens of times but not with this particular search term. I checked several of the obits and found the majority mentioned that the decedents had been avid cribbage players.
I’m not sure what to make of this. What does it mean that cribbage is associated with obituaries in Iowa? I suppose some would say that it might mean that cribbage is a game mainly played by old people—which is probably true. The American Cribbage Congress (ACC) web site makes it very clear that they encourage young people to play cribbage. Be patient, the site takes a while to load.
That said, whenever I see photos of people of playing cribbage, almost all appear to be over 50 years old.
So, I tried searching the web using the term “cribbage in Wisconsin” and didn’t get any obituaries. I got the same result with “cribbage in Minnesota” and “cribbage in Illinois.” I decided not to run the search for every state in the country, because I think the point is already made. For whatever reason, cribbage in Iowa seems to be associated with obituaries and advanced age.
I imagine some reading this post might point out that the connection with obituaries in Iowa and cribbage could just mean that a lot of Iowans enjoy cribbage. That could be true. However, on the ACC web site, I can find only one city in Iowa that has an ACC Grass Roots Club, and it’s in Des Moines.
There’s a web article entitled “Is cribbage too antiquated to survive this digital world? Players and board collectors sure hope not.” It was written by Rebecca Zandbergen in April 2023 and I reviewed it again today. One thing I can say about cribbage is that it’s probably good exercise for the brain. I can find plenty of article which praise cribbage as a way to keep your brain healthy and engage socially.
I don’t know if there are any scientific studies on the benefits of cribbage for your brain. I had trouble finding them on the web, although I admit I didn’t conduct anything like a thorough search. I did find one study on the association of playing cribbage with social connectedness.
Kitheka, Bernard & Comer, Ronald. (2023). Cribbage culture and social worlds: An analysis of closeness, inclusiveness, and specialization. Journal of Leisure Research. 54. 1-21. 10.1080/00222216.2022.2148145. Accessed January 1, 2025.
“Abstract: Recreation specialization through the lenses of social worlds is a common approach used to describe how people define and are defined by recreation activities. This ethnographic study investigates the social worlds of cribbage players. The study analyzes cultural structures through the lenses of closeness, inclusiveness, and recreation specialization. Using survey questionnaires, informal interviews, and researcher observations, data were collected at cribbage events over a period of 3 years. Findings reveal a distinct cribbage culture characterized by varying levels of commitment, specialization, and degrees of connectedness. The study contributes to the currently limited literature on social worlds and indoor recreation specialization. It provides insight as to how people align at a community level to find meaning via recreational activities. Data also reveals a lack of social diversity in the cribbage community. Findings could be used in leisure programming for diversity and inclusion at community and grassroots levels.”
There was also a paper entitled “Cribbage: An Excellent Exercise in Combinatorial Reasoning:
Markel, William. (2005). Cribbage: An Excellent Exercise in Combinatorial Thinking. The Mathematics Teacher. 98. 519-524. 10.5951/MT.98.8.0519. Accessed January 1, 2025.
Abstract: Card games have long been a rich source of combinatorial exercises. Indeed, determining the probabilities of obtaining various hands in poker, and often in bridge, has been standard fare for elementary texts in both probability and combinatorics. Examples involving the game of cribbage, however, seem rare. This omission is especially surprising when one considers that cribbage hands offer excellent applications of combinatorial reasoning.
It’s a math thing, which is good for brains. Math won’t kill you and neither will cribbage. Happy New Year!